Getting Started: Understanding Your New Plant
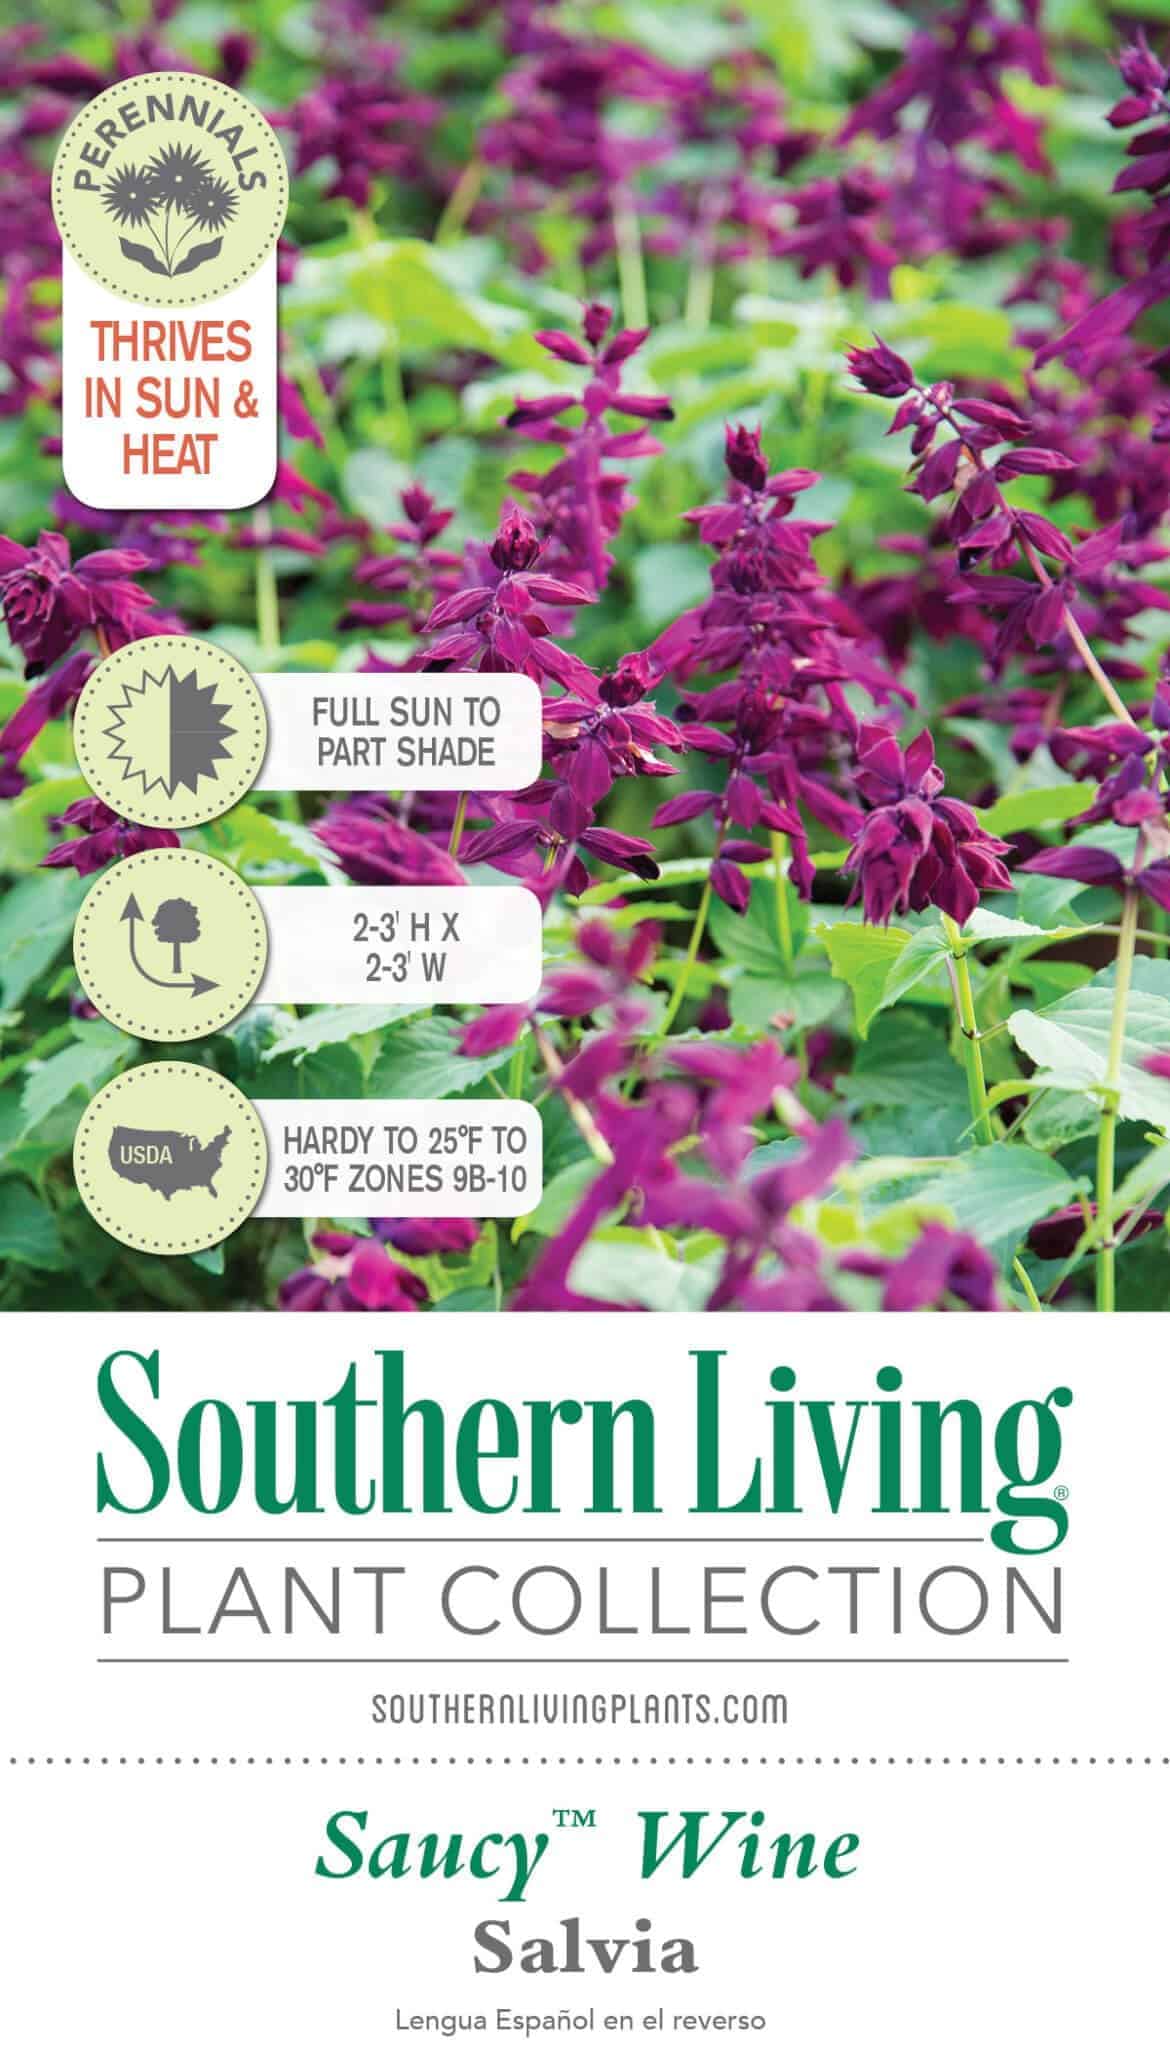
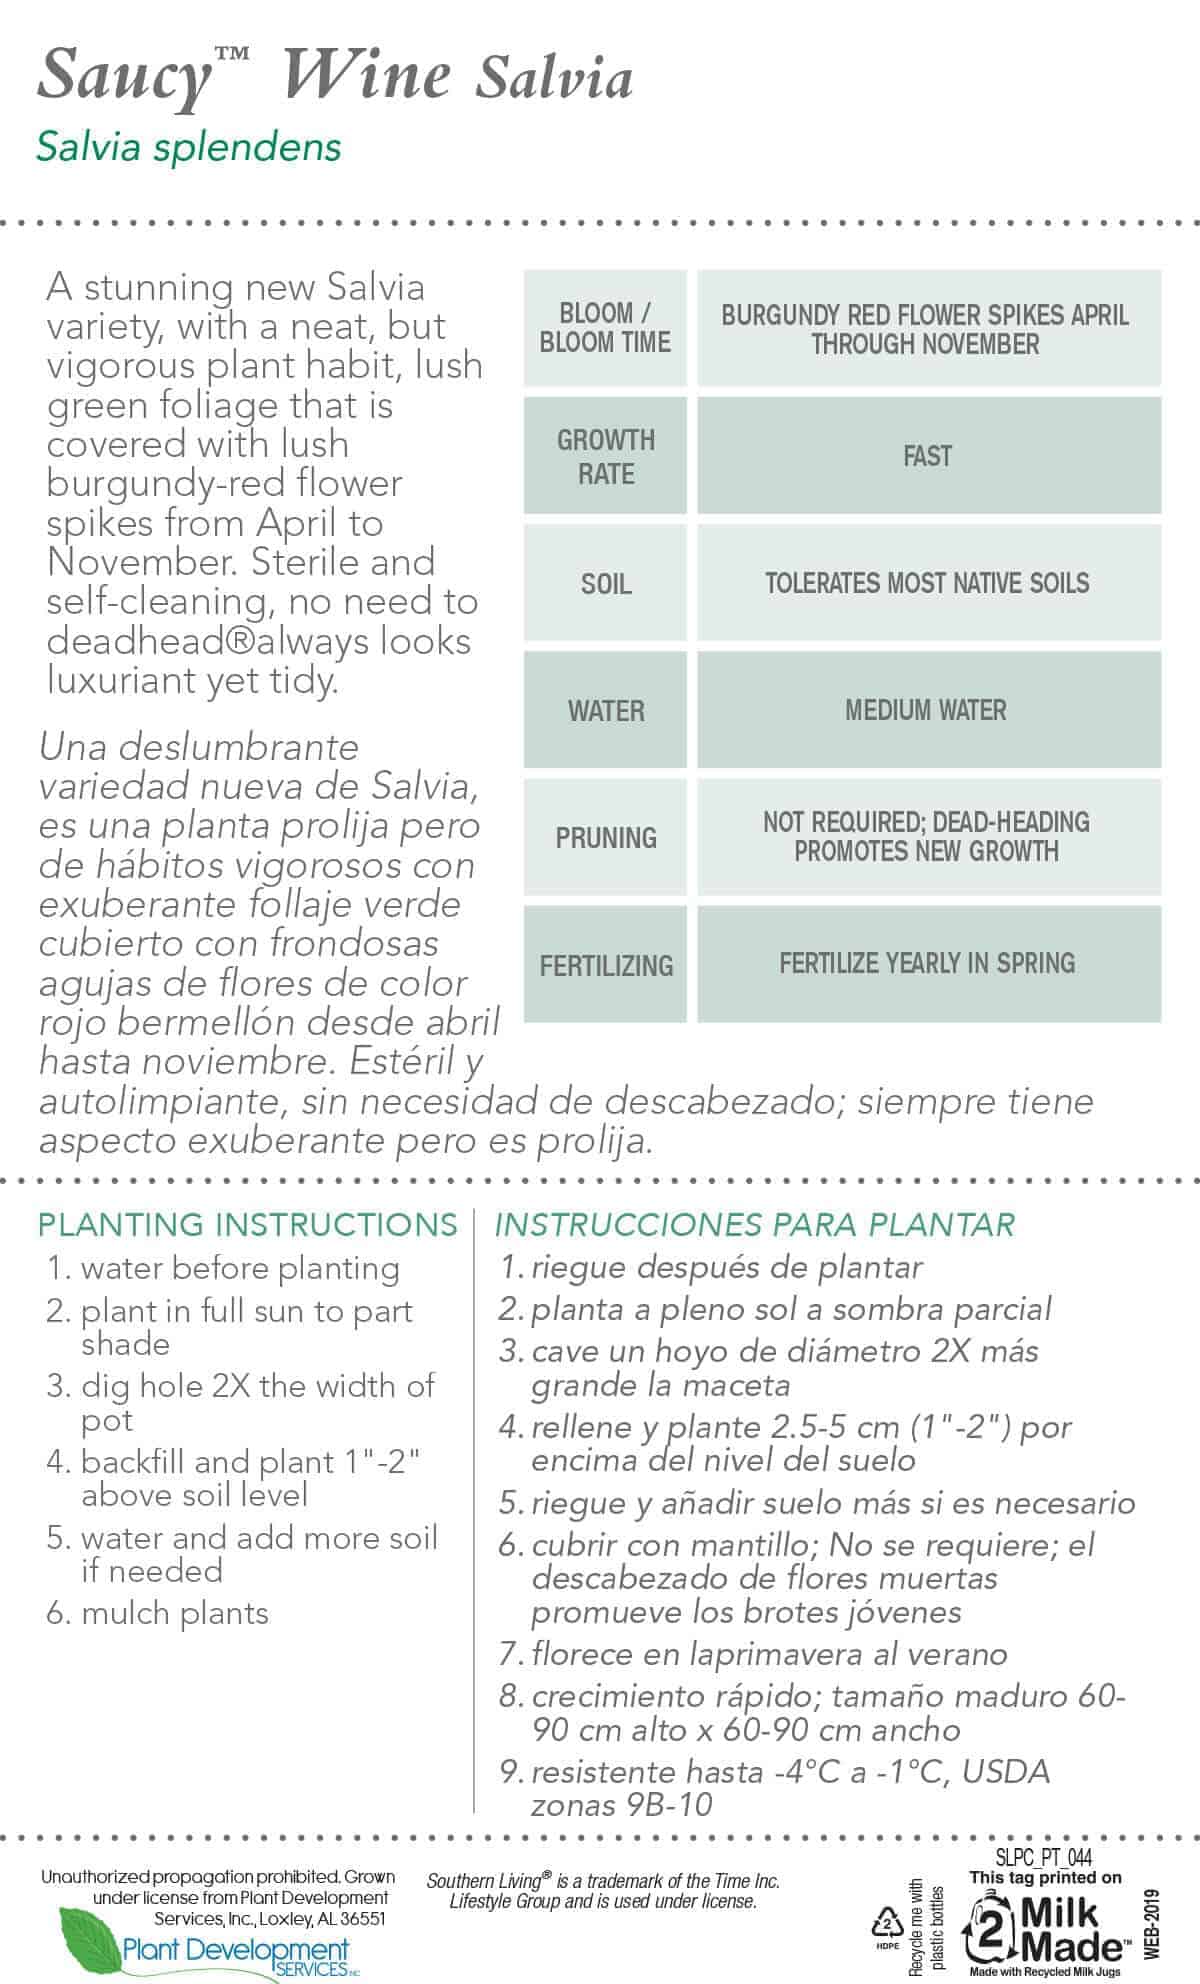
Review your plant's information on our website or the tag that comes with it. Be mindful of sunlight preferences, soil type, and spacing needs.
Our plants are adaptable but grow best in the correct USDA Zones. Click here to learn more about your USDA Zone.
Planting Instructions
Dig a Hole
First, dig a hole three times the width of the root ball of your plant. This makes it easier for the root system to spread out quickly. Dig the hole deep enough that your plant will sit level with or slightly above the ground around it.
Amend Your Soil
Mix your native soil with rich gardening soil to provide extra nutrients and support plant growth. If your soil is clay-heavy, we recommend mixing your native clay soil with equal parts of Pine Bark mulch to improve drainage and the overall breathability of your soil.
Place Your Plant
Examine the roots. If they appear tightly bound, gently coax them apart; this ensures they can spread into the new soil. Place your plant in the hole so the top of the rootball is even with the surrounding soil—Backfill around it with the amended soil mixture. The roots need access to oxygen for your plant to thrive, so do not cover the rootball; place soil around it.
Mulch Your Plants
Top the soil beneath your plant with 3-4 inches of mulch to help it retain moisture. Be careful not to cover the rootball - your new plants roots need access to oxygen.
Water Your Plant
Soak the plant with a hose afterward to hydrate the plant, as well as get the soil and mulch situated. Develop a regular watering schedule based on your plant's needs and local weather patterns. Remember, over watering is just as, if not more, harmful than under watering.


